Showing posts with label cheap. Show all posts

Wednesday, February 9, 2011

Sponges Sponges Sponges

As a potter, I have to admit, I have weird relationship with sponges. Still trying to find the perfect one and it is just never satisfactory. Here are the pictures of some that I use and some that were rejected at first use. Would love to hear your insights.

Firstly, the standard yellow sponge. They come round, but are too big and hold a lot of water. So I cut them. Inexpensive but especially after cutting them I need to watch out for the yellow bits in my clay while throwing. Though this does make a good cleaning sponge for wiping off glaze from the bottom of pots while galzing.


The elephant ear sponge. These I like. Can hold a lot or little water depending on how much you squeeze out. They are on the expensive side. They do last longer though. But $5 for sponge.. I don't think so...


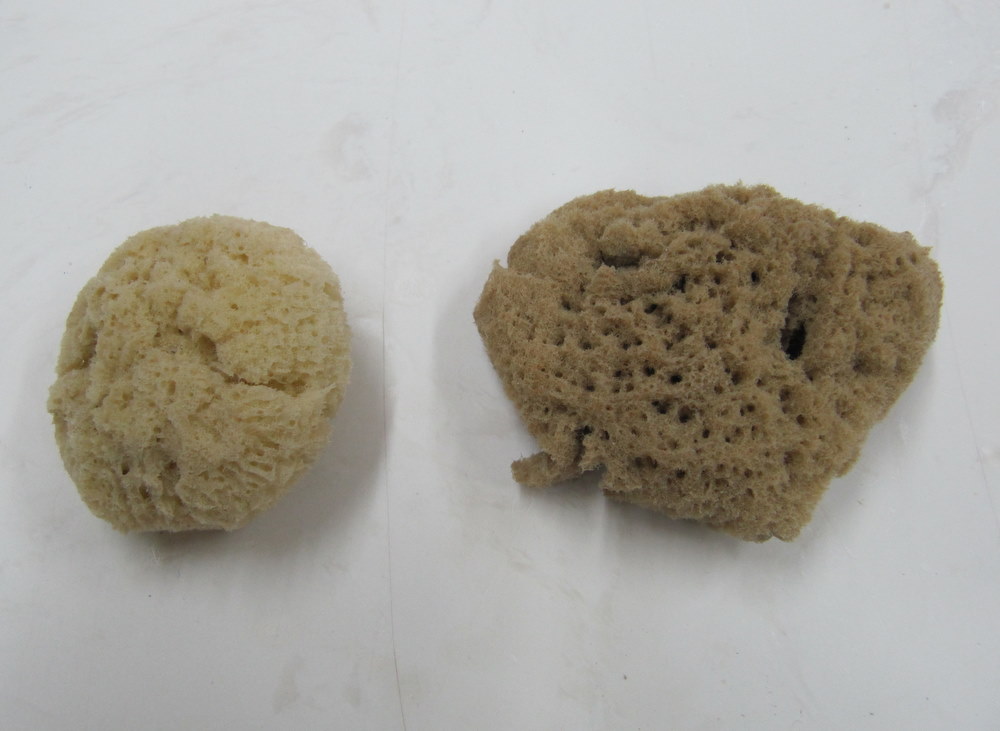
This is some sort of elephant sponge which I used once and never used again. It is flat and doesn't absorb any water. Nothing good to say about this one other than its shape and size.


Then there is the mudtools sponge. It is cut in half and has been used quite a bit. Holds decent amount of water but I find it very textured. Pricey too.. $6 I think.


One of my favorites... from the Dollar store. I get four big rectangle sponges for a Dollar. And I make 5 sponges from each of them. So that is 20 sponges for a dollar. They don't feel great on first use, but after that they become flat (picture on the right) and hold just the right amount of water. Surprisingly they last longer too.


This is my recent find. Cosmetic sponges. They are cut to the perfect size and shape that I need. Hold perfect amount of water. I think I paid $3 for 20 sponges in a bag. They are great for cleaning up glazes in tight corners too like lid galleries. Let's see how long this affair lasts.


I would love to hear about your tools and what works for you. Post away!

Sunday, July 11, 2010

Making pedestals for art shows

If you are an artist and have been doing art shows, I am sure the thought of displays is always in your head.
I have been working on my booth displays and always changing something. Sometimes with the introduction of new items, things need to be rearranged and I need to change the way I set up my shelves.
Pedestals is something I always struggled with for my sculptures and for my few featured items. There are several designs out there. There are expensive options which do look really nice. Some can be bulky, some can be flimsy, some don't last long at all and some take forever to assemble.
One method that worked well for indoor shows was painted cardboard. It looked clean and sturdy but it really wasn't very stable. I took them to one outdoor show where it rained like crazy and that was the end of them. You can see them in the picture below.
I then came across potter Kathleen LeSueur and she does amazing work. She mentioned about her pedestals made from 1/8" luan and outdoor carpeting which she had been using since 1994. So using her design and adding a few more additions, I made my pedestals and love the way they came out. They were not very expensive to make either. Hope the following steps help. Thanks Kathy for pointing me to the right direction.
First cut four pieces from 1/8" luan for the four sides of the pedestals (eg. four pieces of 8"x 25"). I got this cut at the big box store itself, as I don't have a table saw and their cuts were very accuarte. I think I paid $2.00 for cutting up sides for all the 3 pedestals I made. Worth it!
Then you cut the outdoor carpeting to dimentions slightly larger than what you would need for the pedestal (For the 8"x25" sides, cut the carpeting to 36"x 28")
Glue the luan with carpet glue to the back side of the carpeting leaving a 1/4" gap between each side. Once the glue is set, cut off the remaining from the top and bottom, but leave 3-4" exra on the side.

Between the middle two panels I added a strap of carpeting with staples to serve as a handle for carrying them.

To set it up, just set it upright and use velcro strips which grip on very well to the carpet. I then added two 2" square styrofoam pieces to help square the top and bottom.

Another piece of laun covered in outdoor carpeting and you are done. I have used these for 3 shows so far and they are really holding up very well. I am sure they will last a long time. You can see them in action at my next show. Gig Harbor Summer Art Festival
If you have any more ideas, feel free to comment.

Bookmark and Share

LinkWithin

Related Posts Plugin for WordPress, Blogger...